
# Savory Bliss: The Ultimate Guide to Making Basic Thai Omelette at Home
Welcome to my culinary adventure! As I sit here reflecting on my childhood kitchen memories, I can almost smell the aroma of soy sauce mingling with freshly cooked eggs, evoking memories of those cozy family dinners. Nothing felt more comforting than sharing a plate of Basic Thai Omelette—sometimes simply prepared, sometimes a bit fancy, but always infused with love. This dish isn’t just food; it’s a heartwarming reminder of time spent around the table with my loved ones, laughing, sharing stories, and indulging in every savory bite.
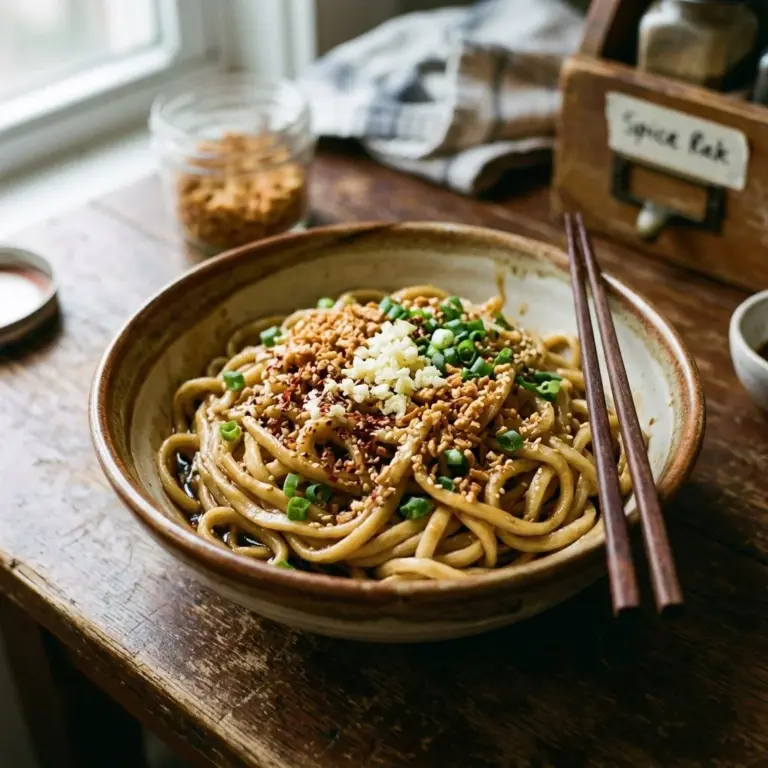
What makes Basic Thai Omelette so special? Perhaps it’s the heavenly combination of textures: crispy on the outside, fluffy on the inside, perfectly complemented by a splash of soy sauce or fish sauce that adds a delightful umami kick. Each ingredient plays its part, making this dish not only a quick meal but a memorable experience. In this post, I promise to share the secrets of crafting this exquisite comfort food that beats takeout any day. You’ll learn easy techniques, must-know tips, and creative variations to make this dish uniquely yours. Ready to make your kitchen come alive with the essence of Thailand? Let’s dive in!
## What Are Basic Thai Omelette?
The Basic Thai Omelette, or "Khanom Cha," has humble origins tied to busy streets across Thailand, where it serves as a staple food for locals. It's often a go-to dish in bustling markets, made fresh within moments and served with rice or as part of a larger meal. What sets these omelettes apart is their texture—fluffy yet crispy, soft yet hearty.
The taste is a delightful mix of eggy goodness, with the salty flavor from the fish sauce accentuating the savory profile beautifully. Whether you're looking to whip up a quick breakfast or a delightful lunch, Basic Thai Omelette is the perfect choice when you need comfort and flavor in one dish. It’s also a beloved dish during family gatherings, making it a fantastic way to bond over shared culinary experiences.
## Why You’ll Love This Recipe
Here are just a few compelling reasons why this Basic Thai Omelette recipe will become your new favorite:
1. **Quick and Easy**: Who doesn’t love a dish that can be made in under 10 minutes? With minimal prep, you can have a delicious meal on the table in no time.
2. **Customizable**: Feel free to enhance your omelette with whatever ingredients you have on hand. Toss in chopped veggies, herbs, or even leftover protein for a personal touch.
3. **Cost-Effective**: Say goodbye to expensive takeout! With only a few simple ingredients, whipping up an authentic Thai dish at home saves you money without sacrificing flavor.
4. **Better than Takeout**: While takeout can be delightful, nothing compares to the fresh taste of a homemade Basic Thai Omelette. You control the flavors and quality, guaranteeing each bite is delightful.
5. **Perfect for Any Meal**: Whether it’s breakfast, lunch, or a light dinner, this omelette is versatile enough to fit any craving. It can even be prepped ahead of time for those hectic days.
Let’s get you started on this scrumptious journey!
###

## Ingredients
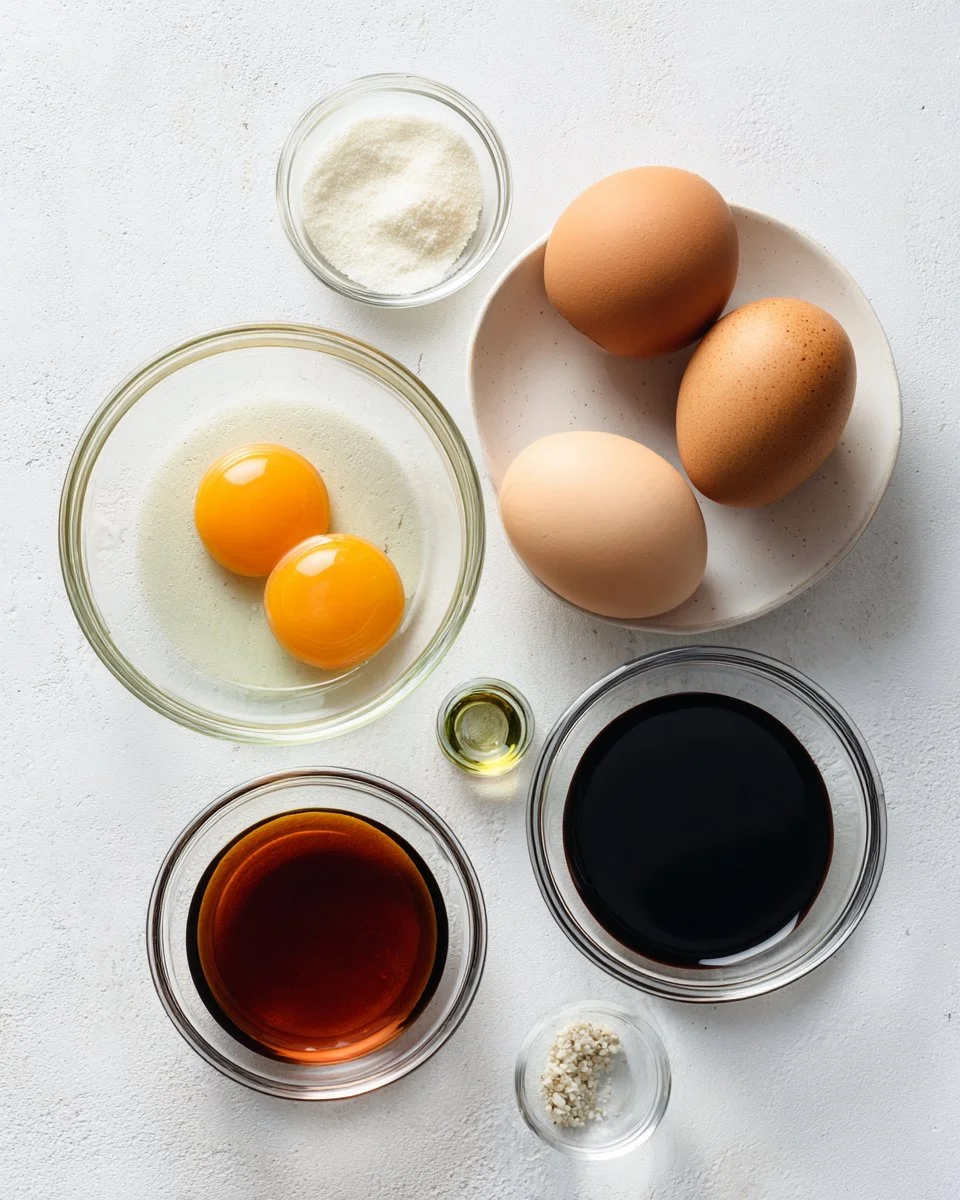
To make your Basic Thai Omelette amazing, here's what you'll need:
- **2 large eggs**: For the fluffiest omelette, use fresh eggs at room temperature for better mixing.
- **1 teaspoon fish sauce (or soy sauce for vegetarian)**: This adds a wonderful umami flavor that elevates the dish. If you're looking for a unique taste, try double fermentation soy sauce for a deeper flavor.
- **Neutral oil**: Use high-quality vegetable, canola, or coconut oil. Choose oils with a high smoking point for the best results.
### Tips:
- Make sure ingredients are at room temperature; it helps in achieving a fluffy texture.
- If you’re exploring flavor profiles, consider adding herbs or spices to your egg mixture.
###

## Step-by-Step Instructions
Let’s whip up that Basic Thai Omelette! You can choose between two methods based on your preference.
### Method 1: Prettier, Crispier, but More Oil
1. **Beat the Eggs**: Crack the two large eggs into a bowl and add 1 teaspoon of fish (or soy) sauce. Beat well with a fork until blended, about 30 seconds until frothy.
2. **Prepare Your Oil**: In a wok, pot, or an 8-inch skillet, heat half an inch of oil over medium-high heat. The oil is ready when it shimmers slightly and can form small bubbles if you drop a pinch of egg mixture into it.
3. **Cook the Omelette**: Carefully pour the beaten eggs into the hot oil. Cook until browned on the underside, roughly 1-2 minutes. Using a spatula, gently flip it and let it brown for another 30 seconds.
4. **Draining**: Once cooked, remove from the oil and let it drain on a plate lined with paper towels.
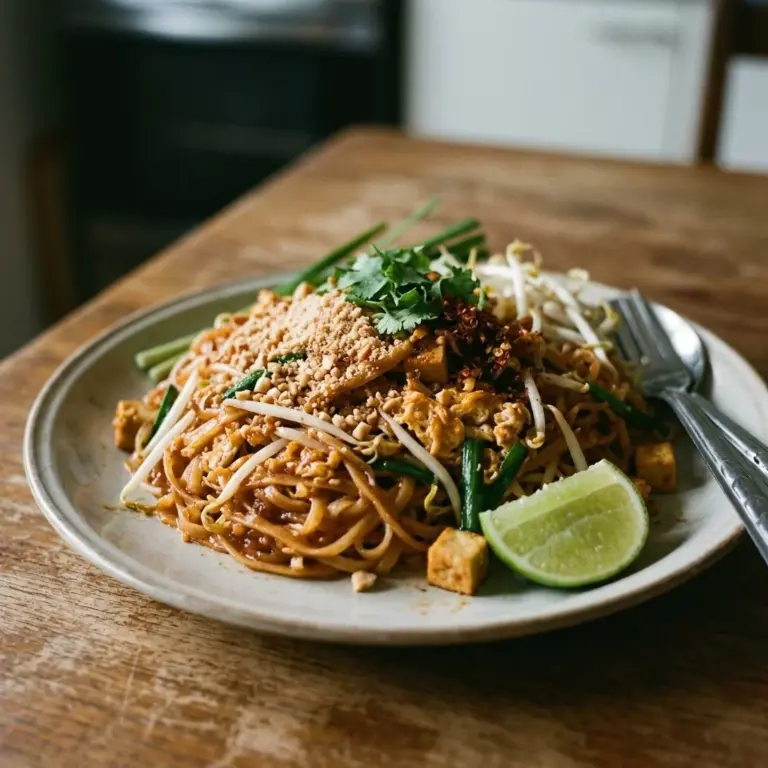
5. **Serve**: Serve hot with jasmine rice and a drizzle of sriracha for that extra kick.
### Method 2: Not as Pretty, But Quicker and Less Oil
1. **Beat the Eggs**: Same as above—get those eggs ready!
2. **Heating the Pan**: Heat just enough oil to coat the bottom of a wok or sauté pan over medium heat.
3. **Pour the Eggs**: Once the oil is heated, pour in the eggs. Use a spatula to push the edges inward, allowing the raw egg to flow to the edges.
4. **Flip and Serve**: When the omelette is set enough you can flip it, do so carefully and cook for a few seconds. Remove it and serve with rice and sriracha.
#### Chef’s Tips:
- Avoid overcrowding the pan: Cooking one omelette at a time helps maintain texture.
- Make sure the oil is hot enough to avoid a soggy omelette.
### Common Mistakes to Avoid:
- Not using enough oil in method two may lead to sticking.
- Overcooking can toughen the texture; aim for that light, airy finish.
## Expert Tips & Tricks
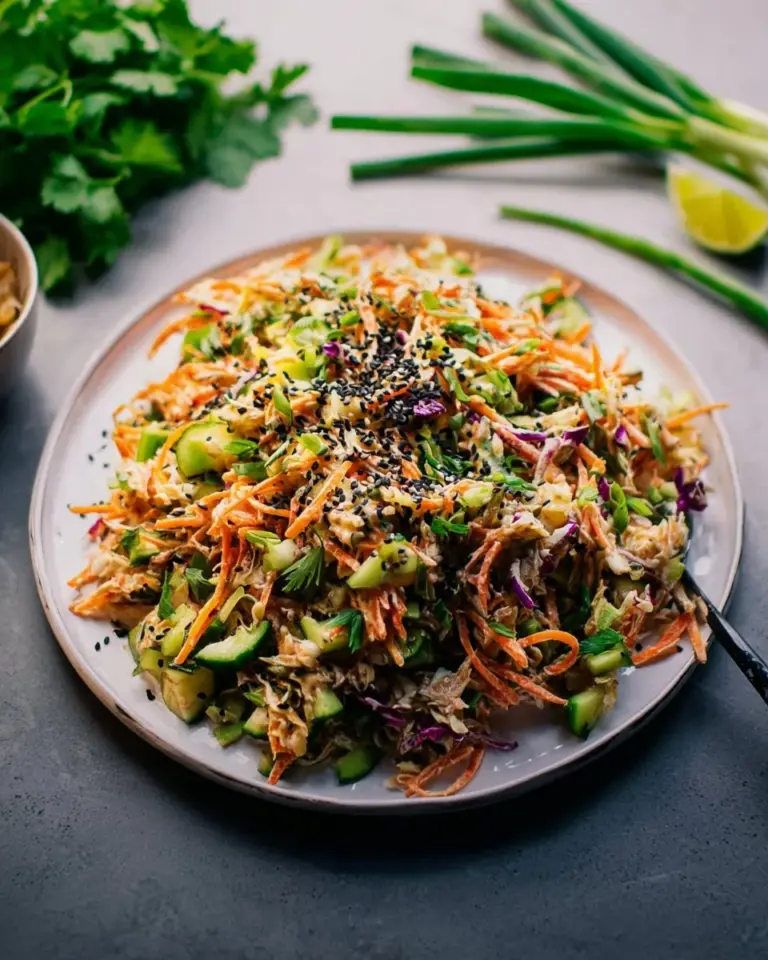
1. **Get Creative**: Experiment with fillings—add chopped scallions, shredded carrots, or bell peppers for an extra nutritional boost.
2. **Ensure Freshness**: Always use the freshest eggs for the best texture and flavor.
3. **Storage**: If you have leftovers, store them in an airtight container in the fridge. They can last up to 3 days.
4. **Make Ahead**: Beat the eggs and sauces ahead of time, storing them in the fridge to save time during cooking.
5. **Troubleshooting**: If your omelette doesn’t flip well, it may be too wet—let it set more before attempting to turn it.
### Serving Suggestions
Basic Thai Omelette can be served on its own but pairs beautifully with a side of jasmine rice or a fresh salad for a balanced meal. For an inspiring presentation, serve the omelette with a sprig of cilantro on top, and a small bowl of sriracha for that vibrant touch! It’s perfect for brunch with friends or as a quick weeknight dinner.
## Variations & Substitutions
- **Veggie Loaded**: Add sautéed mushrooms, zucchini, or spinach for a healthier twist.
- **Spice It Up**: Consider adding diced chili peppers for a spicy kick.
- **Dietary Needs**: For a gluten-free option, stick with soy sauce alternatives like tamari or coconut aminos.
## Nutrition & Storage Info
- **Prep Time**: 5 minutes
- **Cook Time**: 5 minutes
- **Total Time**: 10 minutes
- **Yield**: 2 servings
- **Estimated Calories**: Approximately 200 calories per serving (depending on additional ingredients)
- **Storage**: Store in an airtight container in the fridge up to 3 days.
###
## FAQ Section
1. **Can I use butter instead of oil?**
Absolutely! Butter gives a rich flavor, but be mindful of its lower smoking point.
2. **What’s the best way to flip the omelette?**
Use a spatula to gently lift and flip; practice makes perfect!
3. **Are there vegetarian options?**
Yes, just substitute fish sauce with soy sauce or tamari.
4. **Can I make this an egg white omelette?**
Totally! Just replace whole eggs with egg whites and adjust seasonings to taste.
5. **What's the best way to reheat?**
Reheat in a nonstick skillet over low heat to avoid overcooking.
6. **Can I freeze the omelette?**
It's best fresh but can be frozen for up to a month; reheat in the pan or microwave.
7. **What side dishes go well with this?**
Jasmine rice, pickled vegetables, or a simple side salad work wonderfully.
8. **Can I add cheese?**
Yes! A sprinkle of cheese can add creaminess and flavor.
9. **What can I use for a low-sodium version?**
Use low-sodium soy sauce instead of regular fish sauce.
10. **How do I ensure my omelette is fluffy?**
Beating the eggs well and cooking over medium heat will give you the fluffiest texture.
## Conclusion
There you have it—the secrets to making the most delightful Basic Thai Omelette! This dish embodies comfort, nostalgia, and a dash of adventure in every bite. I encourage you to gather your ingredients, get cooking, and create your own delicious memories with this recipe. Don’t forget to share your feedback and any creative twists you made in the comments. For more delectable recipes that are sure to charm your taste buds, check out my blog for all things scrumptious and satisfying!


Basic Thai Omelette
A comforting and quick dish, the Basic Thai Omelette combines crispy and fluffy textures enhanced by fish sauce for a delightful umami kick.
Ingredients
Method
Method 1: Prettier, Crispier, but More Oil
- Beat the two large eggs with 1 teaspoon of fish (or soy) sauce in a bowl until frothy, about 30 seconds.
- In a wok or an 8-inch skillet, heat half an inch of oil over medium-high heat until it shimmers.
- Pour the beaten eggs into the hot oil and cook until browned on the underside, about 1-2 minutes.
- Gently flip the omelette and cook for another 30 seconds.
- Remove the omelette from the oil and let it drain on a plate lined with paper towels.
- Serve hot with jasmine rice and a drizzle of sriracha for extra kick.
Method 2: Not as Pretty, But Quicker and Less Oil
- Beat the eggs as before.
- Heat just enough oil to coat the bottom of a wok or sauté pan over medium heat.
- Pour in the eggs and use a spatula to push the edges inward, allowing the raw egg to flow to the edges.
- When the omelette is set, carefully flip it, and cook for a few seconds.
- Remove and serve with rice and sriracha.
Notes
Avoid overcrowding the pan; cook one omelette at a time for best texture. Ensure oil is hot to prevent a soggy omelette. Store leftovers in an airtight container in the fridge for up to 3 days.