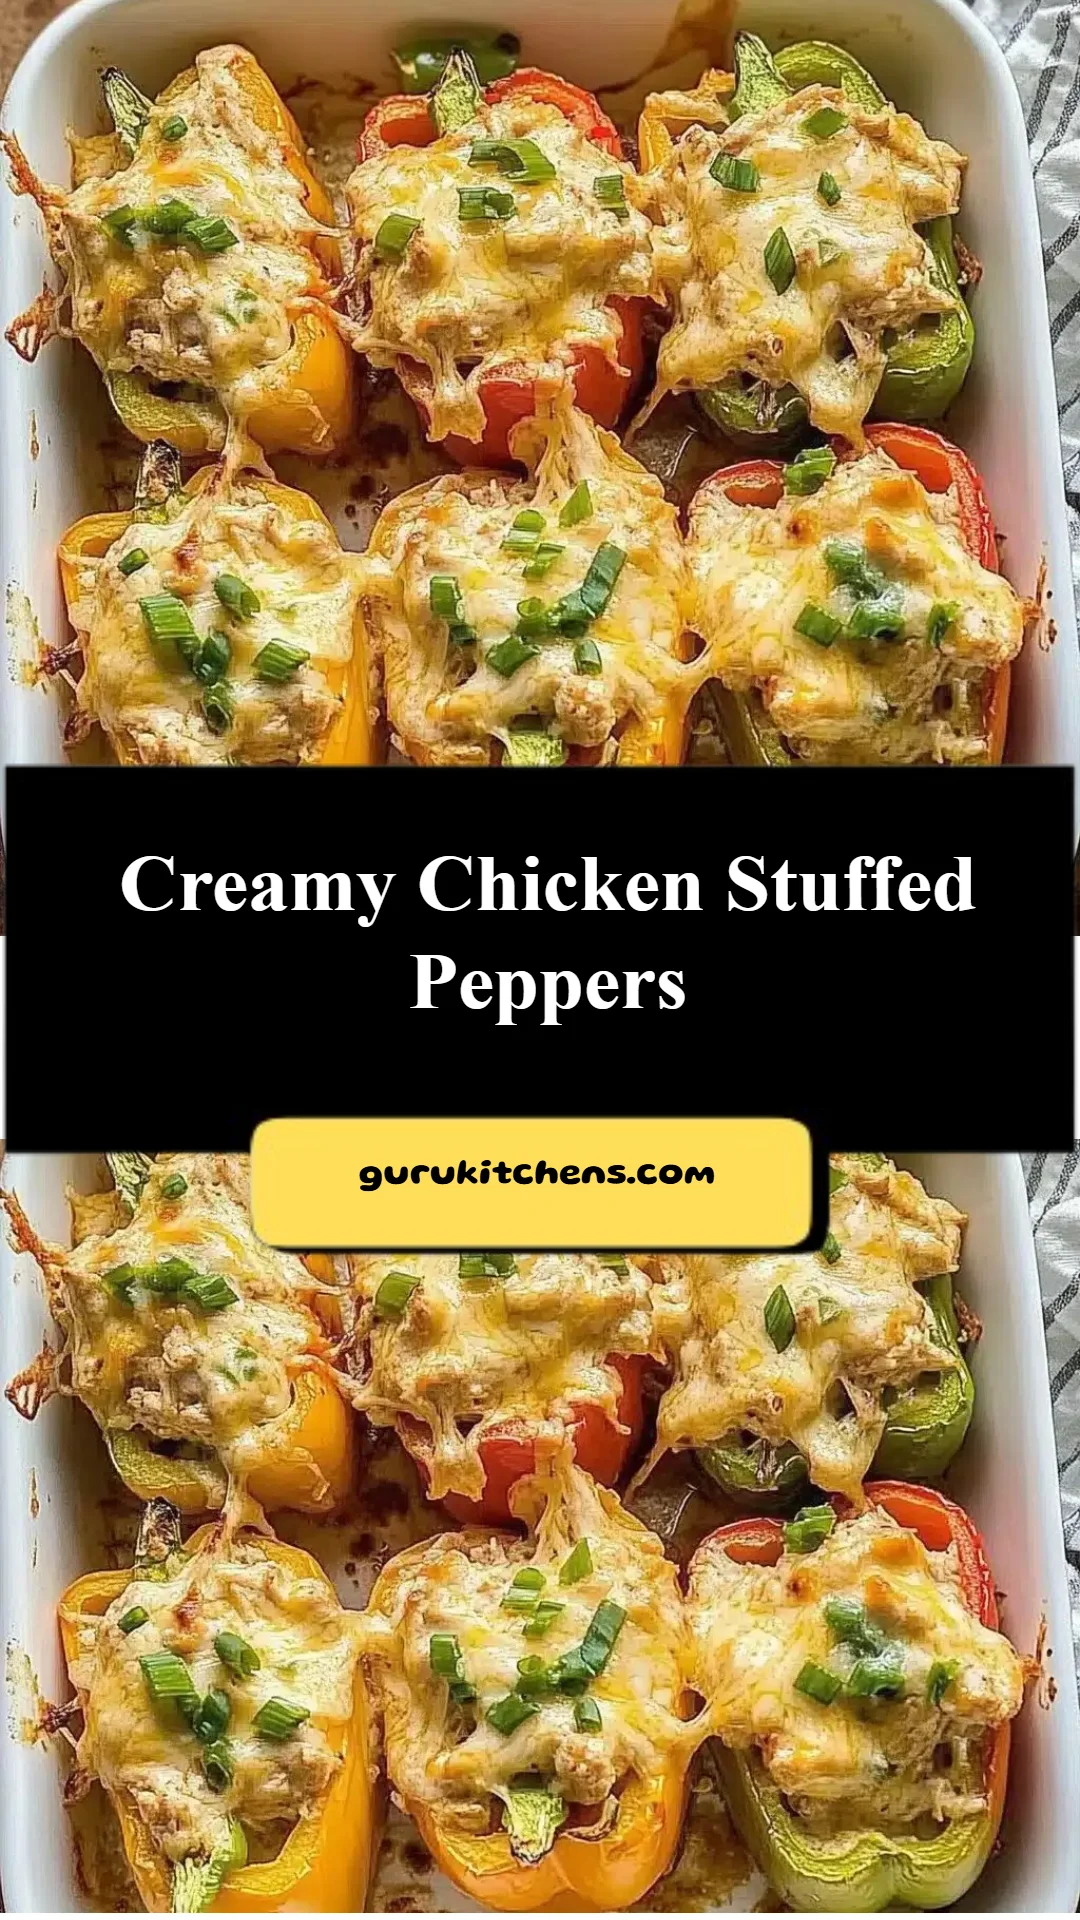
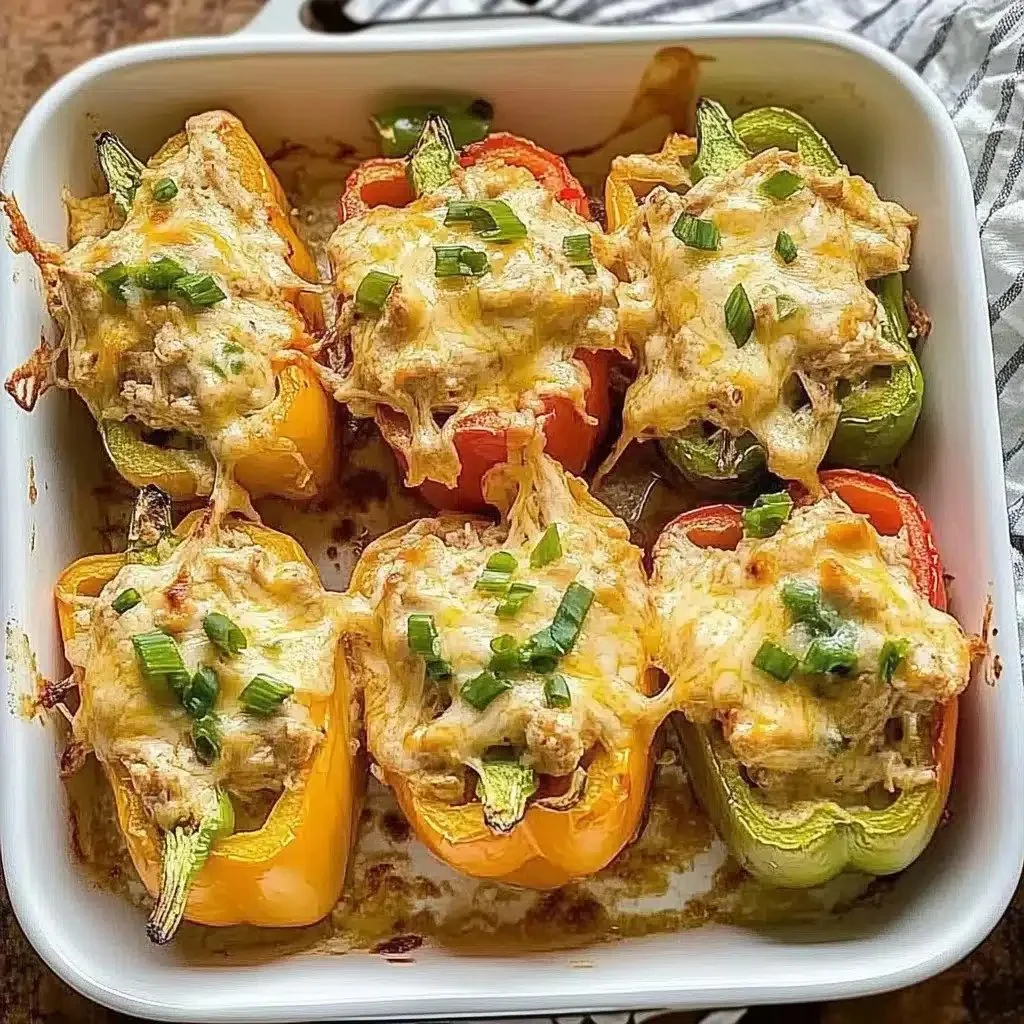
Savory and Creamy Chicken Stuffed Peppers: A Family Favorite Recipe
Growing up, family dinners were a sacred tradition. Around the table, laughter mingled with the warm scent of comfort food filling the air. Among our favorites were my mom’s creamy chicken stuffed peppers, a dish that not only satisfied our appetites but also brought our family closer together. Each vibrant bell pepper became a pocket of warmth, lovingly filled with a creamy chicken mixture that was both luscious and delightful. What makes Creamy Chicken Stuffed Peppers so special is their versatility; they can be dressed up for a dinner party or enjoyed as a cozy family meal on a regular Tuesday evening.
Unlike the bland, store-bought meals we sometimes resort to, this homemade recipe is a true labor of love. Cream cheese, shredded chicken, and cheddar come together in a masterful way that seeps into every tender bite of pepper. Plus, they’re surprisingly easy to make! By the end of this post, you’ll learn how to create this comforting dish that’s bound to become a staple in your home, just like it is in mine.
What Are Creamy Chicken Stuffed Peppers?
Creamy Chicken Stuffed Peppers have their roots in classic, hearty home cooking. They provide the perfect blend of flavor, texture, and nutrition all wrapped up in a colorful, edible vessel. The sweet, slightly charred bell pepper serves as a delightful contrast to the creamy, savory filling inside. Each bite offers a satisfying crunch followed by a wave of rich creaminess, thanks to the combination of cream cheese and shredded chicken.
These flavors make them a fantastic weeknight meal, but they’re also impressive enough for entertaining. Perfect for when you need something comforting yet chic, Creamy Chicken Stuffed Peppers rise to any occasion.
Why You’ll Love This Recipe
Flavor Explosion: Each bite of these stuffed peppers delivers a heavenly combination of the savory chicken filling along with the sweetness of toasted bell peppers. It’s a flavor profile that tantalizes the taste buds and keeps you coming back for more!
Cost-Effective: Compared to dining out or ordering in, whipping up these stuffed peppers is super budget-friendly. Plus, you probably already have many of the ingredients at home, making it even easier to jump in.
Customization: This recipe is a blank canvas! Add your favorite spices, herbs, or even vegetables. Want a little spice? Toss in some jalapeños. Prefer a milder flavor? Skip them altogether. The options are endless!
Effortless Execution: While the stuffed peppers might look gourmet, they are quite simple to make! Perfect for both beginner cooks and seasoned chefs, you can impress your guests without spending hours in the kitchen.
Meal Prep Friendly: These peppers are perfect for meal prep! Made in advance and stored in the fridge or freezer, you can reheat them to savor throughout the busy week ahead.
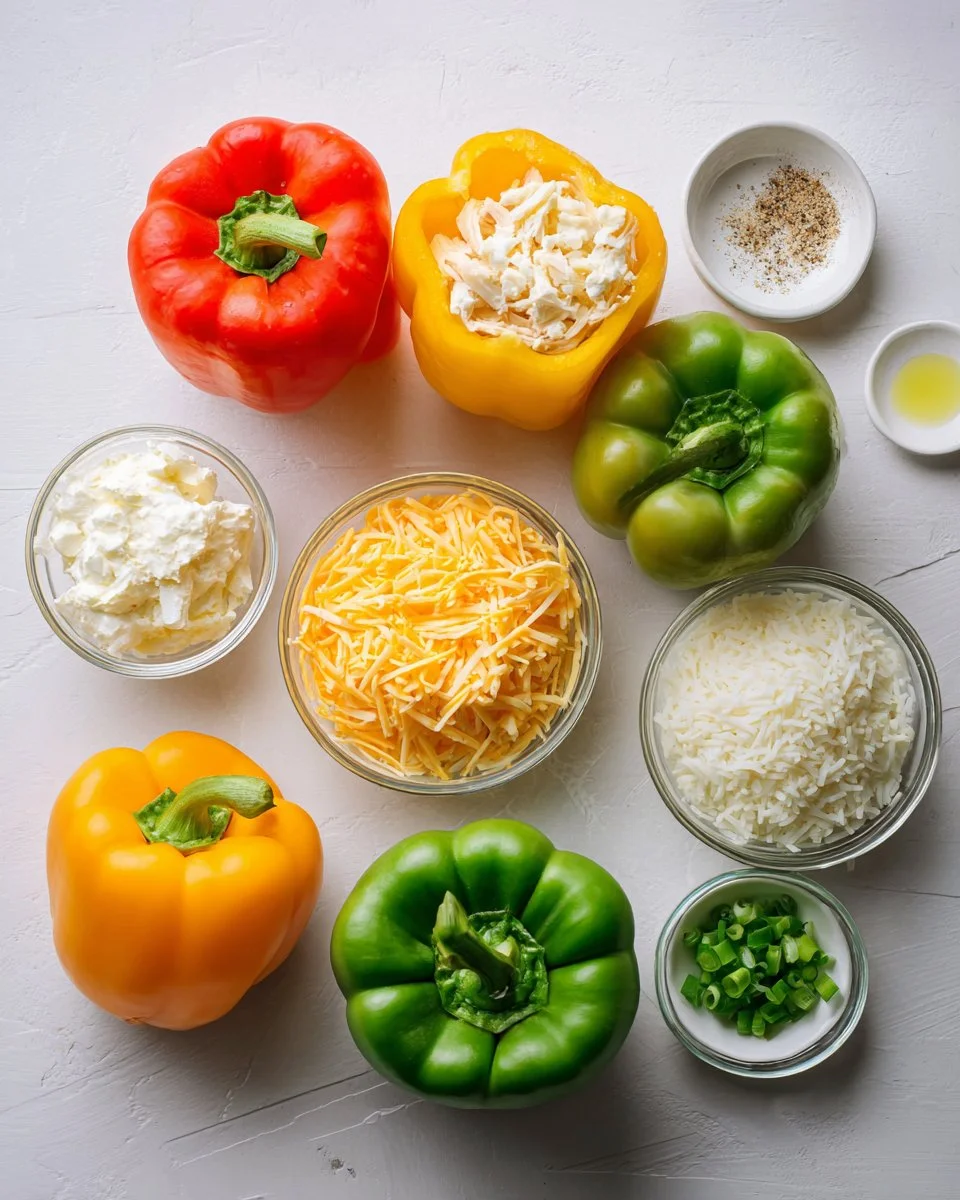
Ingredients
- 4 large bell peppers (any color you fancy; I love using a mix of red and yellow for that beautiful pop of color!)
- 2 cups cooked chicken, shredded (rotisserie chicken works wonders here!)
- 1 cup cream cheese, softened (for that delightful creaminess)
- 1 cup shredded cheddar cheese (I prefer sharp cheddar for a bolder flavor)
- 1/2 cup sour cream (for extra richness)
- 1 teaspoon garlic powder (to enhance the savory notes)
- 1 teaspoon onion powder (because we love a hint of sweetness)
- Salt and pepper to taste
- 1 tablespoon olive oil (helps with that beautiful roasted texture)
- 1/4 cup chopped green onions (for a fresh garnish)
- Optional: 1 cup cooked rice or quinoa for added bulk and nutrition
Notes on Ingredients:
- Chicken: Using pre-cooked chicken like rotisserie makes this recipe even easier. You can also use leftover chicken from previous meals.
- Cream Cheese: Soften it by leaving it at room temperature for about 30 minutes before mixing for a smooth consistency.
- Bell Peppers: Choose firm peppers without blemishes for the best results. If you’re feeling adventurous, try different colored peppers for a vibrant dish!
Step-by-Step Instructions
Preheat your oven to 375°F (190°C). This ensures that your stuffed peppers cook evenly from the beginning.
Prepare the Bell Peppers: Slice the tops off the bell peppers and remove the seeds. Lightly brush the outside with olive oil and place them upright in a baking dish. (Visual cue: They should stand quite nicely, showcasing their vibrant colors!)
Mix the Filling: In a mixing bowl, combine the shredded chicken, cream cheese, cheddar cheese, sour cream, garlic powder, onion powder, salt, and pepper. Mix until thoroughly combined. (Pro Tip: Use an electric mixer for a smoother filling.)
Fold in Extras: If you’re craving more texture or bulk, fold in the cooked rice or quinoa now.
Stuff the Peppers: Spoon the creamy filling into each bell pepper, pressing down gently to pack it in. Don’t be shy; load them up!
Bake: Cover the baking dish with aluminum foil and bake for 25 minutes. Then, remove the foil and bake for an additional 10-15 minutes, or until the peppers are tender and the filling is heated through. (Chef’s Tip: The peppers should be fork-tender but still hold their shape.)
Finish It Off: Remove from the oven and sprinkle with chopped green onions before serving.
Allow to Cool: Let them rest for a few moments before serving. Enjoy your delicious Creamy Chicken Stuffed Peppers!
Expert Tips & Tricks
Storage Recommendations: These stuffed peppers can be stored in the fridge for up to 4 days in an airtight container. They also freeze beautifully! Wrap them individually and store for up to 3 months.
Meal Prep: Assemble these ahead of time and store in the fridge (unbaked) for a quick meal later. Just pop them in the oven when you’re ready to eat.
Common Troubles: If your stuffing seems runny, you might have added too much liquid—bake it covered initially, then uncovered for a firmer consistency.
Garnish & Serving: Top with fresh avocado slices or a dollop of salsa for an extra kick! Serve them alongside a crisp green salad or some homemade garlic bread for a complete meal.
Serving Suggestions
Creamy Chicken Stuffed Peppers shine on their own, but they play oh-so-nicely with a variety of sides and accompaniments. A light green salad drizzled with vinaigrette helps cut through the richness of the filling. Want to feed a crowd? Pair them with crunchy tortilla chips and homemade salsa! They’re fantastic for game day or any casual gathering.
Variations & Substitutions
Want to shake things up? Here are some deliciously creative variations to try:
Spicy Southwest: Toss in black beans and corn, and add a touch of salsa for a zesty kick.
Italian Twist: Add Italian seasoning and swap the cheddar for mozzarella. Top with marinara sauce for a comforting Italian dish.
Vegetarian Delight: Substitute the chicken with a mix of sautéed veggies like zucchini, mushrooms, and spinach for a meatless option.
Seasonal Special: In the fall, add some diced butternut squash to the filling for a hint of sweetness.
Nutrition & Storage Info
- Prep Time: 15 minutes
- Cook Time: 40 minutes
- Total Time: 55 minutes
- Yield: 4 servings
- Estimated Calories Per Serving: Approximately 450 Calories
Storage Instructions:
- Room temp: Not recommended; they are best enjoyed freshly cooked!
- Fridge: Store in an airtight container for up to 4 days.
- Freezer: Freeze individually wrapped for up to 3 months.
FAQ Section
Can I use different types of cheese?
Yes! Feel free to experiment with feta, pepper jack, or even goat cheese for a unique twist.How can I make these gluten-free?
The ingredients here are naturally gluten-free; just ensure your chicken and any added grains are certified gluten-free.Can I make them vegan?
Absolutely! Substitute the chicken with a plant-based protein, use vegan cream cheese, and skip the dairy cheese.What else can I use to stuff the peppers besides chicken?
Ground beef, turkey, or a mix of lentils and veggies are all fantastic alternatives!How do I know when the peppers are done?
They should be tender enough to pierce with a fork but still maintain their shape and color.Why did my peppers come out tough?
This usually happens when they aren’t baked long enough. Make sure they’re fork-tender before removing them from the oven.Can I make these ahead of time?
Yes! Prepare them unbaked and store them in the fridge for a quick meal later.What can I use instead of sour cream?
Greek yogurt is a great, healthier substitute that will add a nice tang.Can I bake these on the grill?
They grill beautifully! Just wrap them in foil and place them on the grill until cooked through.Are these good for meal prep?
Absolutely! They refrigerate and freeze well, making them a fantastic option for Meal Prep Sunday.
Conclusion
These Creamy Chicken Stuffed Peppers are not just a recipe; they’re a loving reminder of family traditions and comforting meals. I encourage you to give this dish a try and create your own memories around the dinner table. Please share your thoughts, experiences, or any tweaks you made in the comments section below! And don’t forget to check out other family-inspired recipes on the blog that will surely warm your heart and satisfy your taste buds!

Creamy Chicken Stuffed Peppers
Ingredients
Method
- Preheat your oven to 375°F (190°C).
- Prepare the bell peppers: Slice the tops off the bell peppers and remove the seeds. Lightly brush the outside with olive oil and place them upright in a baking dish.
- In a mixing bowl, combine the shredded chicken, cream cheese, cheddar cheese, sour cream, garlic powder, onion powder, salt, and pepper. Mix until thoroughly combined.
- If using, fold in the cooked rice or quinoa.
- Spoon the creamy filling into each bell pepper, pressing down gently to pack it in.
- Cover the baking dish with aluminum foil and bake for 25 minutes.
- Remove the foil and bake for an additional 10-15 minutes, or until the peppers are tender and the filling is heated through.
- Remove from the oven and sprinkle with chopped green onions before serving.
- Allow to cool for a few moments before serving.
- Enjoy your delicious Creamy Chicken Stuffed Peppers!